
LEARN and EARN!
Get your RV Technician Certification in as little as 5 weeks!
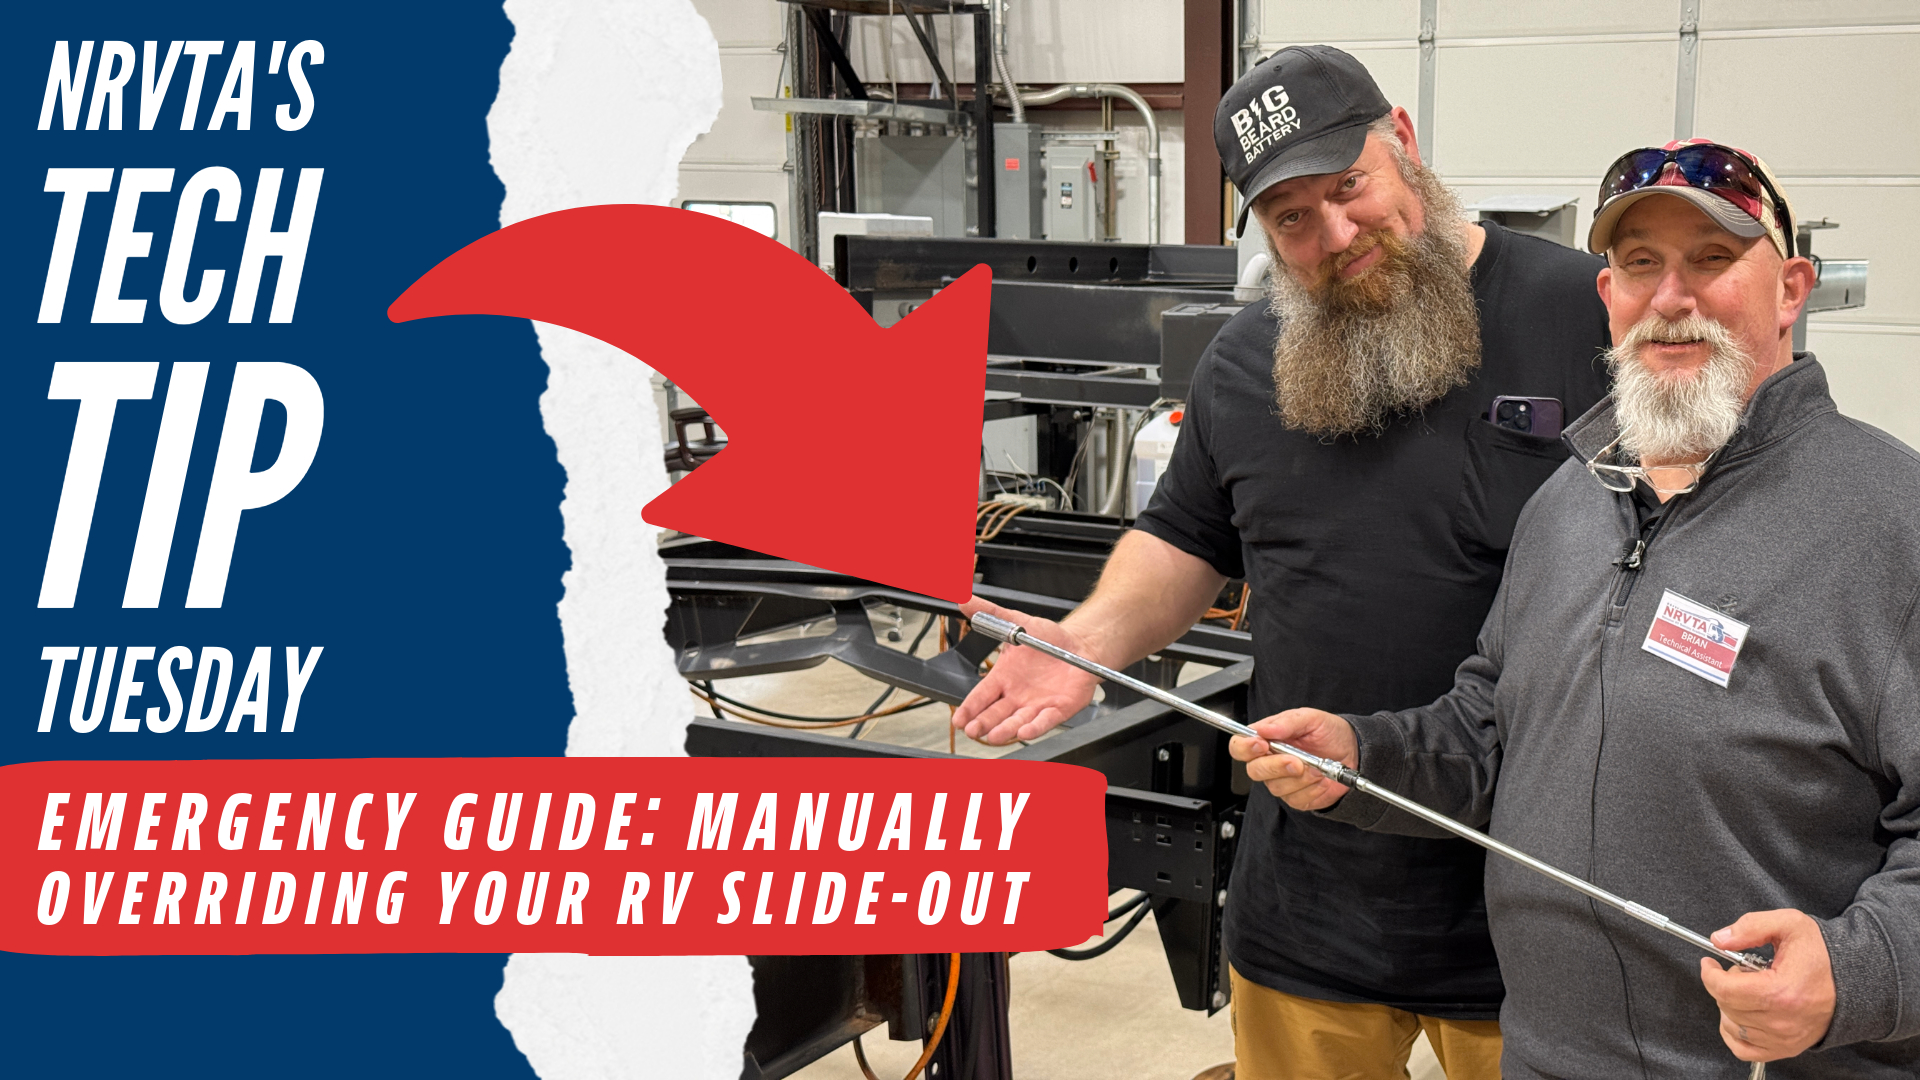
How to Manually Retract an RV Slide-Out safely. If an RV slide-out will not retract, do not immediately reach for a socket or drill. First identify the slide mechanism, check for obstructions and verify the RV’s 12-volt power. Manual-override procedures differ among through-frame, in-wall, cable-driven, above-floor and hydraulic systems. Using the wrong procedure can damage the slide, injure someone or leave the room unsecured for travel.
This guide explains the general process and takes a closer look at an electric through-frame slide-out. Always follow the instructions for your RV and the exact slide system installed in it. If the room is crooked, binding, unsupported or difficult to move, stop and contact a qualified RV technician.
Before You Manually Retract an RV Slide-Out
A slide that will not move does not automatically have a failed motor. Common causes can include:
- Low battery voltage
- A blown fuse or tripped circuit breaker
- A poor electrical connection or ground
- A failed switch, controller or motor
- An obstruction inside or outside the RV
- A mechanical bind or damaged component
- A slide lock or travel bar that was not removed
- A hydraulic-system or valve problem
Start with the least invasive checks. Confirm that the RV is positioned as required by its owner’s manual, keep people and pets away from the room, and inspect the slide’s path inside and outside. Look beneath furniture, rugs and cabinets for anything that could prevent the room from moving.
Do not place hands, tools or body parts between the slide room and the RV wall. Slide-outs create serious pinch and crush hazards.
Identify Your RV Slide-Out System
There is no universal RV slide-out manual override. Before touching the mechanism, find the system manufacturer and model.
Look for:
- A label on the slide controller, motor, hydraulic pump or mechanism
- Information in the RV owner’s packet
- A component list or build sheet from the RV manufacturer
- Visible rails or hardware that help identify the system
Common systems include:
- Electric through-frame systems: Usually use rack-and-pinion hardware beneath the room and an actuator mounted in or near the chassis frame.
- In-wall or Schwintek-style systems: Commonly have aluminum gear tracks mounted vertically along both sides of the slide opening and two synchronized motors.
- Cable-driven systems: Use visible cables and pulleys to move the room.
- Above-floor or SlimRack-style systems: Have their own controller, motor and override procedures.
- Hydraulic systems: Use a pump, fluid reservoir, hoses, cylinders and system-specific valves or auxiliary-drive procedures.
A socket-and-ratchet procedure intended for an electric through-frame actuator should not be applied to an in-wall, cable-driven or hydraulic slide.
First Check the RV’s 12-Volt Power
Electric slide-outs normally depend on the RV’s 12-volt system, even when the RV is connected to shore power. Check:
- The house-battery disconnect is in the correct position.
- Battery voltage is within the range required by the slide manufacturer.
- Slide-related fuses and circuit breakers have not opened.
- Battery terminals and visible grounds are secure and free from obvious damage.
- The slide switch and controller show any expected lights or error codes.
Low voltage may let a motor run slowly, stop under load or behave inconsistently. If the battery is discharged, recharge it using equipment and procedures approved for that battery chemistry and RV. Do not assume that every RV battery should be “jump-started.” Incorrect connections can damage electronics or create an electrical and fire hazard.
If restoring proper voltage makes the slide operate, watch and listen carefully. Stop if the room moves unevenly, binds, skips or produces grinding noises.
Can an Electronic Override Bring the Slide In?
Some controlled slide systems provide an electronic override or diagnostic mode. For example, an in-wall slide may display a controller error code and have a manufacturer-defined electronic override procedure.
Use electronic override mode only when the manufacturer’s instructions say it is appropriate. An override can bypass normal fault protection, so it should not be used to force a mechanically bound or obstructed room.
If a Schwintek slide moves unevenly but still operates, it may need to be resynchronized rather than manually cranked. See NRVTA’s guide to resynchronizing a Schwintek slide-out and confirm that its instructions match your system.
How to Manually Retract an Electric Through-Frame Slide-Out
The following overview applies only to a compatible electric through-frame slide-out. Lippert, for example, publishes separate owner and service instructions for its through-frame systems. Confirm the procedure, tool size, access point and direction of rotation in the current manual for your particular system.
1. Prepare the RV and Slide Room
Before using the manual override:
- Clear the slide’s path inside and outside.
- Remove people and pets from the area.
- Support or position the RV as directed by its manufacturer.
- Remove slide locks or transit bars if the room is being moved.
- Turn off or isolate power exactly as the slide manufacturer directs.
For Lippert’s electric through-frame system, the manufacturer instructs users to disconnect the battery from the system before manual operation to prevent electrical backfeed through the motor. That instruction is system-specific; other slide systems may require power for an electronic override.
2. Locate the Correct Manual-Override Point
A compatible through-frame system may provide one of two access points:
- An external crank extension with a pin located outside the chassis main rail
- A hex-head crank extension located at the actuator inside the main frame
Do not assume the access point will be in a J-rail or on the opposite side of every slide. Use the RV and slide-system documentation to locate it.
3. Use the Manufacturer-Specified Tool
Tool requirements vary. Depending on the system, the override may use:
- The RV’s supplied crank handle
- A socket and hand ratchet
- A socket with extensions
- A manufacturer-approved auxiliary-drive tool
The 5/8-inch deep socket shown in the original Tech Tip may fit the particular RV being demonstrated, but it is not universal. Current Lippert documentation for certain electric through-frame systems specifies a standard fifth-wheel landing-gear crank handle or a 3/4-inch socket and ratchet. Verify the correct size before applying force.
Long extensions may be necessary when the actuator is located inside the frame, but their required length depends on the RV. Make sure every extension and socket is fully seated so it cannot slip and damage the fastener or injure the operator.
4. Turn the Override Slowly
On the Lippert through-frame system described in its owner’s manual, clockwise rotation retracts the room and counterclockwise rotation extends it. Do not treat that direction as universal; verify it for your system.
Turn the override slowly while another adult watches the room from a safe location. The room should move evenly without lifting, twisting or binding. Stop immediately if:
- One side moves while the other side does not
- The room becomes visibly crooked
- The mechanism skips or grinds
- The required force increases sharply
- Cables, gears or structural parts appear damaged
- The slide contacts an obstruction or trim
Do not continue simply because the room still needs to travel. Excessive resistance may indicate a mechanical problem that manual force could worsen.
5. Stop When the Room Reaches Its Correct Position
Manual overrides may allow the mechanism to travel beyond its normal stopping point. Lippert warns that continuing to rotate a through-frame override after full extension or retraction can strip gears or damage the mechanism, slide room or trim.
Slow down as the seals approach the RV wall. Stop when the room reaches the manufacturer-defined retracted position. Do not keep turning in an attempt to make the seal tighter.
Should You Use a Drill?
Only use a drill if the slide-system or RV manufacturer specifically allows it for that override procedure.
A drill can apply force quickly and make it easier to:
- Run the mechanism past its intended stop
- Strip gears or round a fastener
- Damage the actuator
- Pull the room out of alignment
- Miss a sudden increase in resistance
If the manual permits a drill, use the specified bit, direction, speed and torque or clutch setting. Keep the speed low and stop before the room reaches the end of travel. When the documentation does not authorize a drill, use the specified hand tool.
What if the Slide Will Not Move Manually?
Stop if the override will not turn with reasonable effort. Do not add a longer breaker bar, impact wrench or extra leverage unless the manufacturer’s procedure specifically calls for it.
A room that will not move may have:
- A damaged actuator or gearbox
- Broken or misaligned rack-and-pinion components
- A seized roller
- Structural damage
- A disconnected drive component
- A jammed in-wall mechanism
- A cable or pulley failure
- A hydraulic lock or valve problem
These conditions require system-specific diagnosis. Continuing to force the room may turn one failed component into a larger structural repair.
Is the RV Safe to Tow After a Manual Retraction?
Do not assume a room is secured just because it appears closed. A failed motor, disengaged brake, disconnected motor, released hydraulic valve or damaged mechanism may no longer hold the room in position.
Before travel:
- Complete every re-engagement step in the manufacturer’s procedure.
- Restore electrical or hydraulic connections as directed.
- Install approved travel locks or transit bars if required.
- Confirm that the room is square and fully seated.
- Verify that seals and exterior edges make appropriate contact.
- Follow the RV manufacturer’s instructions for securing the room.
If you cannot confirm that the slide is mechanically secured, do not tow or drive the RV. Contact the RV or slide manufacturer, roadside assistance or a qualified RV technician.
What About Electric Landing Gear?
Landing gear is a separate system and should not be included in the slide-out override procedure. Tool sizes, crank locations, load requirements and motor-release steps vary by manufacturer.
Never work beneath an RV supported only by electric or hydraulic landing gear, and never remove a cover or component that may be carrying a load without following the manufacturer’s instructions. If the landing gear will not retract, identify that system and use its dedicated emergency procedure.
The original claim that manually raising landing gear may take “several hours or days” should not be used as a general estimate. The time and effort depend on the system, load, mechanical condition and approved procedure.
When to Call an RV Technician
Stop the manual-retraction attempt and seek help when:
- The slide is crooked or has moved unevenly
- The room or mechanism is visibly damaged
- The override cannot be located or identified
- The manual mechanism will not turn normally
- Electrical wiring is overheated, melted or damaged
- Hydraulic fluid is leaking
- A motor must be disengaged or removed
- The room cannot be secured for travel
- You are unsure which procedure applies
An emergency override is intended to help move and secure the room. It does not repair the failure that caused the problem. Have the system diagnosed before operating the slide normally again.
NRVTA’s RV Owner Training begins with RV Fundamentals, where owners are introduced to electric and hydraulic slide-outs, leveling systems, rails, rollers and basic troubleshooting. Students pursuing more advanced diagnostics and repair skills can explore RV Service Technician Training.
For another practical ownership guide, review these RV slide-out maintenance and inspection tips.
The Bottom Line
To manually retract an RV slide-out safely, identify the exact system first. Check for obstructions and adequate 12-volt power, find the correct manufacturer procedure, use the specified override point and tool, and move the room slowly while watching for binding or uneven travel.
The socket method demonstrated in this Tech Tip can apply to certain electric through-frame systems, but it should not be presented as a universal slide-out procedure. If the mechanism does not move normally or the room cannot be secured after retraction, stop and call a qualified RV technician.
The National RV Training Academy provides hands-on training for RV owners and people pursuing RV service careers.
Frequently Asked Questions
Can every RV slide-out be manually retracted with a socket?
No. Socket size, access location and override method depend on the slide mechanism. In-wall, through-frame, cable-driven, above-floor and hydraulic systems use different procedures.
What should I check first when an RV slide-out will not retract?
Check for obstructions, confirm that slide locks have been removed and verify the RV’s 12-volt power, battery disconnect, fuse or circuit breaker. Then check the controller for diagnostic lights or error codes.
Do I need to disconnect the RV battery before manually retracting the slide?
Follow the instructions for the exact slide system. Lippert instructs users to disconnect the battery before manually operating certain electric through-frame systems, while an electronic override on another system may require 12-volt power.
Can I use a cordless drill to retract an RV slide-out?
Only when the manufacturer specifically approves a drill for that override. Using excessive speed or torque can overtravel the room, strip gears or damage the actuator.
Can I tow my RV after manually retracting the slide?
Only after following the manufacturer’s procedure for re-engaging the mechanism and securing the room. If the slide cannot be confirmed closed and mechanically secured, do not travel.



Get Registered Today!
Talk to a student advisor to learn more!