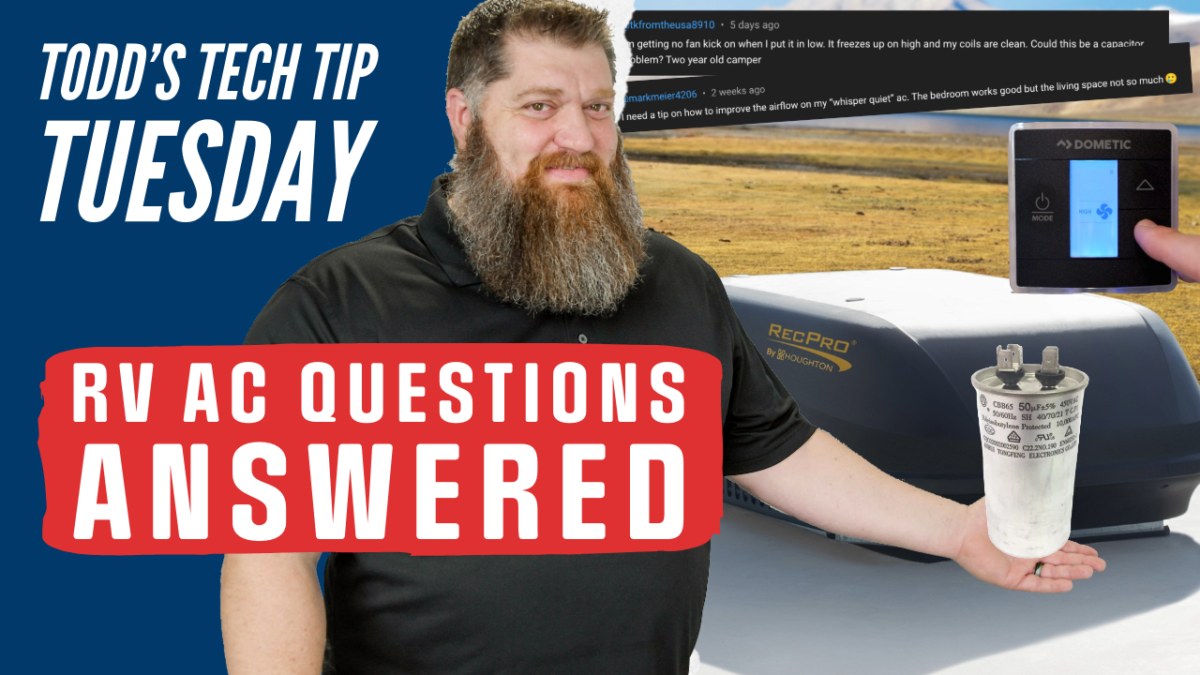
Welcome to another episode of Todd’s Two-Minute Tech Tip Tuesday, brought to you by the National RV Training Academy—the largest hands-on RV training academy in America. Before we dive into today’s tips, please hit the Subscribe button to stay updated with our latest tech tips. Thank you for your support!
Introducing RV Unplugged
Before addressing today’s questions, have you started watching RV Unplugged? Sponsored by the National RV Training Academy, RV Unplugged is a reality game show for RV enthusiasts. We take ten contestants, put them in the field, and make them compete for $25,000. I’m the host, and you can watch it on Wednesday nights at 7 PM Central at RVUnpluggedTV.com or on YouTube by typing in RV Unplugged TV. Don’t miss it!
Improving Airflow in Your RV Air Conditioner
Today, I’ll be answering two questions about airflow in RV air conditioners. Let’s dive in.
Question 1: Improving Airflow in a Whisper Quiet AC
Mark Meyer asked, “I need a tip on how to improve the airflow of my whisper quiet AC. The bedroom works good, but the living room space not so much.”
Understanding Whisper Quiet AC Units
Whisper quiet AC units have the air conditioner mounted on the roof, making it impossible to access the lower control unit from the ceiling. This setup can complicate airflow issues.
Steps to Improve Airflow
- Check the Lower Plenum:
- Inspect the area underneath the air conditioner (the lower plenum).
- Look for any misaligned divider plates or holes allowing air to leak into the attic.
- Access the Roof:
- Carefully get on the roof and remove the shroud and four lag bolts.
- These bolts are typically screwed into the wood base between the ceiling and the roof.
- Adjust the Air Conditioner:
- Carefully pick up one end of the air conditioner and move it over.
- You may need to disconnect the power harness, so be cautious.
- Turn Off Shore Power:
- Before starting, ensure you disconnect the shore power for safety.
- Consider Professional Help:
- If these steps seem daunting, hire a qualified technician. You can find one at rvta.org by clicking on “Locate.”
Enhancing Airflow Design
- RVAC Airflow:
- Consider using products like RVAC Airflow, which can eliminate right angles and improve airflow by up to 40%.
Question 2: Troubleshooting Fan and Freezing Issues
TK from the USA asked, “I’m getting no fan kick when I put it on low, and it freezes up on high. The coils are clean. Could this be a capacitor problem?”
Diagnosing Fan Issues
- Fan Performance:
- Determine if the fan isn’t spinning at all or is spinning slowly. This will help diagnose if it’s a capacitor or bearing problem.
- Freezing Coils:
- Clean coils are essential, but if the fan isn’t working, the coils will freeze up due to lack of airflow.
- Possible Causes:
- Capacitor: A faulty capacitor can prevent the fan from operating correctly.
- Bearings: Frozen bearings can also inhibit fan movement.
Next Steps
- Test the Capacitor:
- Hire a technician to test and replace the capacitor if needed.
- Check Bearings:
- If bearings are the issue, they may need replacement as well.
Addressing Airflow Problems
Ensuring proper airflow across coils is crucial to prevent freezing. Even with clean coils, inadequate airflow will cause issues. More likely than not, TK’s problem is related to airflow rather than low Freon, given the nature of RV AC units.
Conclusion
Both questions today highlight the importance of proper airflow management in RV air conditioners. Whether it’s adjusting the lower plenum or addressing fan issues, maintaining optimal airflow ensures your AC unit runs efficiently and prevents freezing.

