Get your RV Technician Certification in as little as 5 weeks!

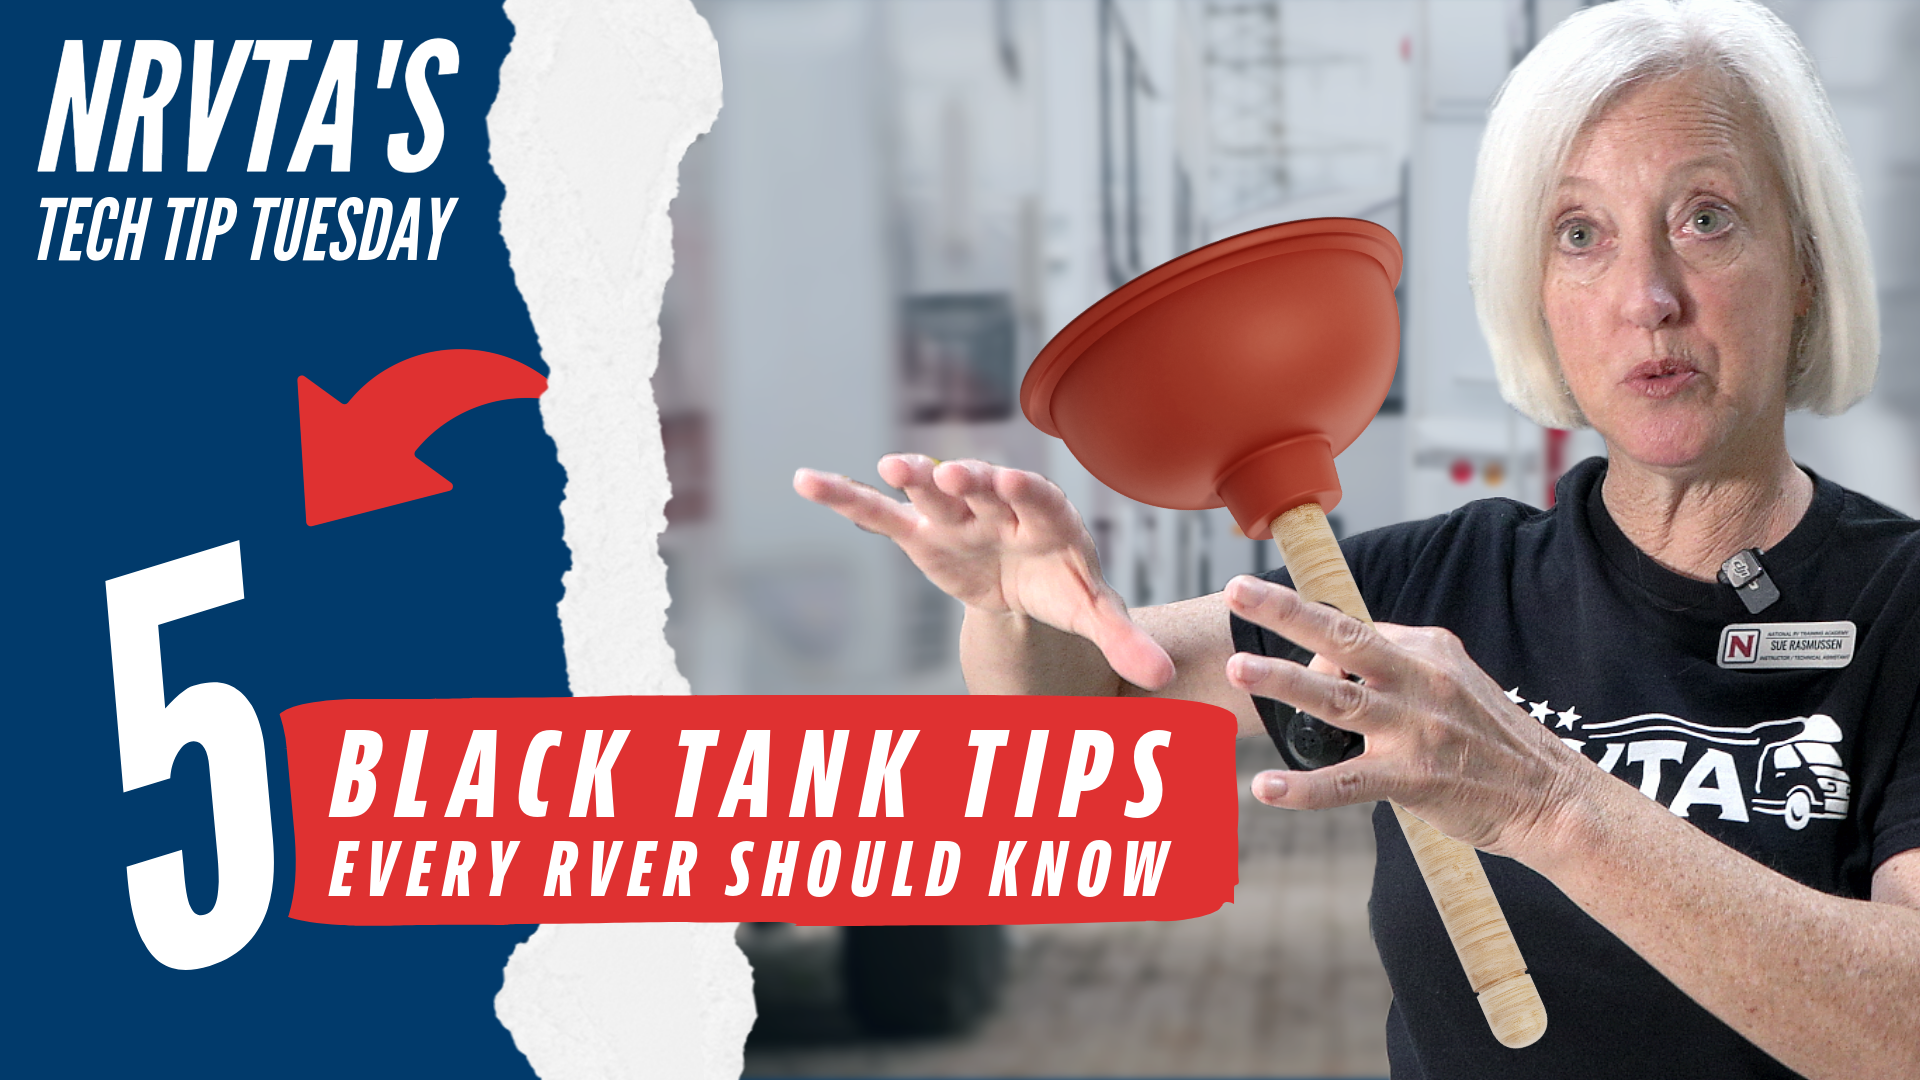
Welcome back to Two-Minute Tank Tip Tuesday, brought to you by the National RV Training Academy (NRVTA)—the largest hands-on RV training school in America! Last time, we focused on gray tanks. This week, we’re getting into the nitty-gritty of black tank maintenance with expert advice from Sue Rasmussen, instructor of the Advanced Water Heater and Furnace class and a specialist in black and gray tank care.
Why Black Tank Maintenance Matters
Your black tank handles all waste from your RV toilet, and proper care is crucial to avoid nasty backups, odors, and long-term damage. One of the first issues to watch for? A leaky black tank valve.
Leaky Valve = Major Problem
If your black tank valve leaks, the liquid waste may seep out—leaving solids behind to dry and harden inside the tank. This can create a “pyramid” clog, where waste piles up and sticks together. Rule #1: Fix leaking valves immediately.
Dumping Your Tanks – Do It Right
The correct dump sequence helps keep your plumbing clean and flowing smoothly.
- Dump your black tank first.
- Then dump your gray tank to help flush out the sewer hose.
Using a Black Tank Flush System
Many RVs come equipped with a black tank flush system—a built-in rinse function that sprays water inside the tank to help clean it out.
- Always use a separate garden hose (not your fresh water hose).
- You can:
- Leave the valve open and let water flush through the tank, or…
- Close the valve, let the water fill partway, then open it to dump a stronger flow.
WARNING: If you leave the flush running with the valve closed, never walk away. If the tank overfills, waste could back up:
- Through the roof vent, causing black water “rain” on your RV…
- Or worse, up through the toilet, spilling into your hallway!
What About Toilet Paper?
Do you need to use “RV-safe” toilet paper? Not necessarily.
- Use septic-safe toilet paper (read the label).
- Be conservative—don’t overdo it.
- Avoid any paper that’s too thick or excessive in quantity.
Preventing Clogs and Pyramid Buildup
Black tank clogs and pyramid issues are typically caused by:
- Poor plumbing design (especially in 5th wheels).
- Not enough water used when flushing.
Here’s a better flushing method:
The “Fire in the Hole” Flush Method
Use a full bowl of water—about a gallon or more. The weight and volume of that water flush everything through the plumbing and into the tank with more force.
Steps:
- Before going #2, hold the pedal partially down to fill the bowl halfway.
- Do your business.
- Add more water until the bowl is almost full.
- Flush it all at once—whoosh!
This method uses water more effectively, helping waste travel cleanly through any bends and curves in the pipes, reducing the chance of build-up or clogs.
What Products Should You Use?
Sue recommends products that are:
- Probiotic-based
- Enzyme-rich
- Free of harsh chemicals, fragrances, and dyes
Her top pick:
🔹 Tank Techs RX
Why? It promotes healthy tank bacteria, breaks down solids naturally, and avoids chemical buildup.
Other good options:
- Liquify
- Unique (though they contain fragrances and dyes)
Avoid heavily chemical-based products—they may crystalize waste and make it harder to clean your tank long-term.
Final Thoughts
Proper black tank maintenance isn’t just about avoiding a mess—it’s about protecting your RV, preventing expensive repairs, and making your travels more enjoyable.
✅ Fix leaking valves
✅ Dump black before gray
✅ Use your black tank flush with care
✅ Use enough water when flushing
✅ Choose tank treatments that break down waste naturally
If you found this tip helpful and want to dive deeper into RV maintenance, consider enrolling at the National RV Training Academy. Whether you’re looking to maintain your own rig or become a certified RV technician, we’ve got hands-on training that makes the difference.
Get Registered Today!
Talk to a student advisor to learn more!