Get your RV Technician Certification in as little as 5 weeks!

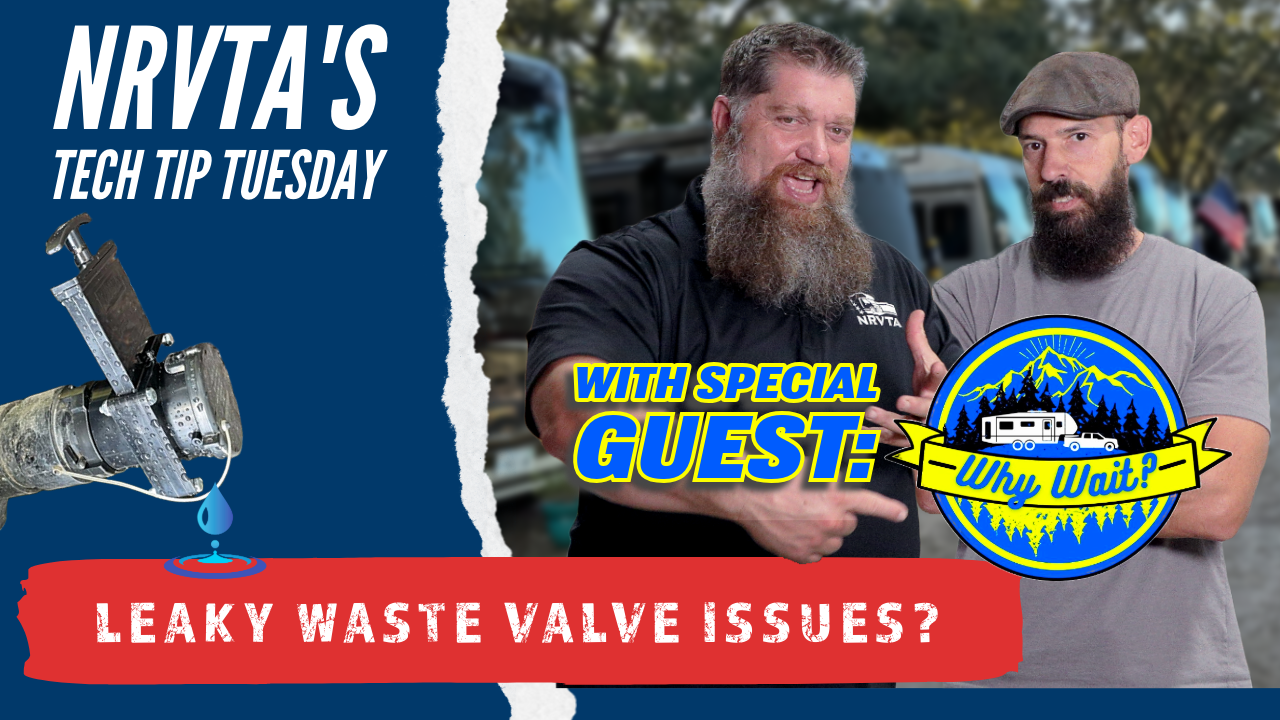
Welcome to another 2-Minute Tech Tip Tuesday brought to you by the National RV Training Academy! This week, Todd and special guest Chris from the YouTube channel Why Wait discuss a common issue faced by RVers: dealing with unexpected leaks from the black tank when connecting or disconnecting hoses at the campsite. Chris shares his experience and solutions for ensuring your black tank setup is as clean and leak-proof as possible. Here’s a full breakdown of their expert tips and advice.
The Problem: “Surprises” When Opening the Black Tank Valve
One frequent and unfortunate scenario for RV owners is opening the black tank valve only to find liquid or waste between the gate valve and the dust cap. This can happen when traveling, even if you’ve emptied and flushed the black tank at your previous location. So, how do you avoid getting an unpleasant surprise when you hook up at the next campsite?
Chris shares his simple yet highly effective solution: add an extra gate valve at the end of your sewer connection. This additional valve ensures that any residue left behind from the black tank stays contained, preventing spillage when you disconnect or connect the sewer hose.
Why Gate Valves Fail: The Causes of Leakage
RV gate valves may fail or leak due to several common issues:
- Improper Closure Due to Debris: Sometimes, toilet paper or other small debris can block the valve from fully sealing.
- Wear on the Cable Mechanism: Many RVs use a motorcycle brake cable-style pull to open and close the black tank valve, which may wear out over time. As Todd explains, these cables can become prone to rust and corrosion, which affects how well the valve closes.
- Obstructed Gate Valve: Occasionally, O-rings or gaskets within the gate valve mechanism become dislodged, causing the valve to remain partially open even when it appears closed.
These scenarios can result in an incomplete seal, allowing liquid to slowly leak out, which then accumulates between the gate valve and dust cap, leading to unwanted messes.
The Solution: How to Check and Maintain Your Black Tank Gate Valve
To prevent leaks and check for valve obstructions, try this method after cleaning your black tank:
- Flush and Inspect the Black Tank: After emptying your black tank, flush it thoroughly to clear any remaining waste.
- Test the Seal with Fresh Water: While one person operates the flush and fills the toilet with water from inside the RV, you can inspect the clear elbow on your sewer hose connection from outside. This clear elbow is an essential visual indicator, letting you see if water is trickling out when the valve should be closed.
- Observe for Leaks: If you notice any liquid continuing to flow, your gate valve isn’t closing entirely. In this case, flush again to clear out any lingering debris.
Chris advises that if you consistently encounter this issue, it’s best to have a professional RV technician check out the black tank system. An expert can address any worn-out parts or replace components as needed to ensure your setup is leak-free.
The Importance of Proper Black Tank Maintenance
Routine maintenance is crucial to keep the black tank valve functioning as it should. Regularly inspect the cable mechanism and gate valve, and clean thoroughly after each use. Preventive measures will go a long way in avoiding unpleasant surprises and keeping your black tank system in top shape.
About the Experts: Todd from National RV Training Academy and Chris from Why Wait Todd’s RV insights are backed by the National RV Training Academy, the largest hands-on RV training facility in America. Meanwhile, Chris’s YouTube channel Why Wait is dedicated to RV maintenance, troubleshooting, and preventive care tips for RV owners, where he covers a variety of practical tips to make RV life smoother and more enjoyable.
For more RV maintenance and troubleshooting tips, be sure to like and subscribe to the National RV Training Academy and Why Wait on YouTube!
Get Registered Today!
Talk to a student advisor to learn more!
