Get your RV Technician Certification in as little as 5 weeks!

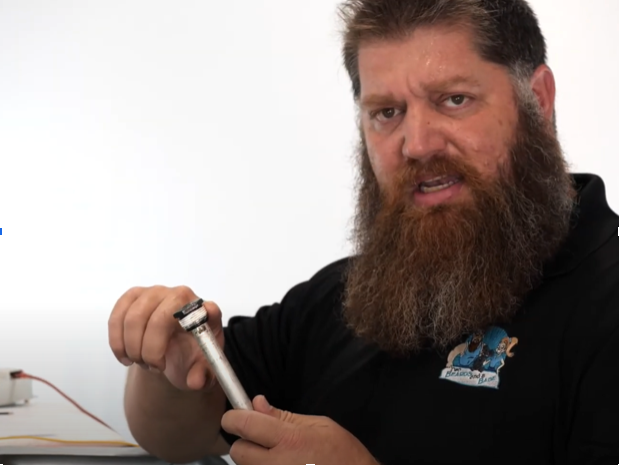
In our water heaters we have what is called an anode rod. If you have a suburban water heater, you have an anode rod. Because you have electricity, and because you have a steel tank, you have electrolysis, and the anode rod protects your tank.
So, the question is “How do I take it out?” “When do I take it out?” and “How often should I replace it?” Well, in answer, you can not just grab a wrench and remove the anode rod; we will actually need to take certain steps to remove it properly.
Step 1-
Remember, this is a water heater: it makes hot water. You do not want hot water pouring out so the first step is to remove the hot water from the tank. To do so, you will turn off the water flow to the unit, and turn OFF the power. Once the power has been turned off, the hot water heater will no longer be generating heat. Next, you will go to a water faucet and open up the hot water tap and allow the water to drain from the tank into the sink. Once you feel the cold water coming from the hot water tap, you will be ready to move to the next step.
Step 2-
Now that you have cold water in the unit, the next step is to depressurize the tank. Because there was heat inside the tank, there will be roughly 150 pounds of pressure inside the unit. You will go to the pressure and temperature valve and very carefully open it, briefly, and allow the tank to depressurize.
Step 3-
Now that the tank is safely depressurized and is filled with cold water, you will take your socket and loosen the anode rod; be careful as you remove the anode rod, because water will be pouring out of the tank from the removal site. Next, you will return to the pressure and temperature valve, leaving it in the open position, and then fully remove the anode rod.
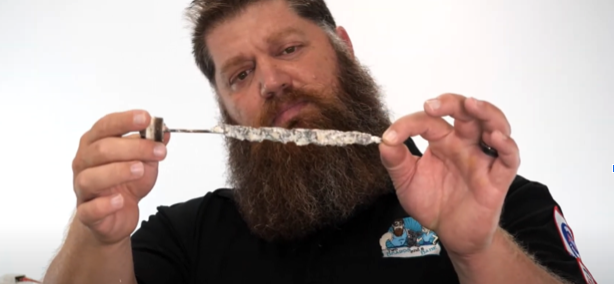
This is an example of a well used anode rod.

You will typically remove and replace the anode rod when there is about 50% remaining, once or twice a year depending on your location. You will also notice calcium deposits drain along with the water, which is normal, but you still want to get as much of it out as possible. If you do not have a spray nozzle to spray inside the tank, you will go back to your water source, turn it back on, and then turn on a water faucet as well. This will bring water back into the system and it will begin to drain out. Next, you will replace your old anode rod, only screwing it back in with your hand, allowing the tank to begin filling back up, causing the calcium deposits to float above the drain line and drain back out as you remove the anode rod a second time. You will want to repeat this process anywhere from 3-5 times to ensure the tank is thoroughly cleaned.
Step 4-
Next, you will take the replacement anode rod and apply teflon tape to the wider end, cut off the water source and install the anode rod. Now that the anode rod is installed, you will turn your water back on.

It is very important to note that you will leave the pressure and temperature valve on throughout the process, closing it only when the water has filled up to the point that it drains from the valve itself.
Step 5-
Turn the power back on.
Again, this is a process that will need to be done once or twice a year depending on your location.
And there’s your Tech Tip!
If you would like to be able to fix the majority of the problems on your RV, or let’s say you want to open a business and become a certified technician or inspector? Head over to our website at www.nrvta.com, select the programs tab and get started today!
Get Registered Today!
Talk to a student advisor to learn more!
