
LEARN and EARN!
Get your RV Technician Certification in as little as 5 weeks!

If you’ve spent much time around campgrounds or RV repair shops, you’ve probably heard someone say, “My Schwintek slide won’t come in.” It’s one of the most common complaints RV technicians hear, and it’s easy to understand why. When a slide-out doesn’t work properly, your travel plans can come to a halt.
The good news is that Schwintek slide-out problems aren’t always caused by expensive failures. In many cases, the issue is something simple, such as low battery voltage, a slide that’s out of synchronization, or a maintenance item that has been overlooked.
Over the years, RV technicians have learned that replacing parts without first diagnosing the root cause often leads to more frustration and unnecessary expense. Understanding how the system works—and what commonly goes wrong—can help you determine whether the problem is something you can address yourself or whether it’s time to seek professional service.
Whether you’re an RV owner trying to solve a problem before your next trip or someone interested in learning more about RV systems, this guide explains the most common Schwintek slide-out problems, what causes them, and the steps you can take before replacing expensive components.
What Is a Schwintek Slide-Out?
The Schwintek In-Wall® Slide-Out System, developed by Lippert, is one of the most widely used electric slide mechanisms in today’s RV industry. Unlike hydraulic slide systems, Schwintek uses two electric motors that drive aluminum rails mounted inside the sidewalls of the RV.
Each side of the slide room has its own motor. An electronic controller keeps both motors synchronized so the room moves evenly during extension and retraction.
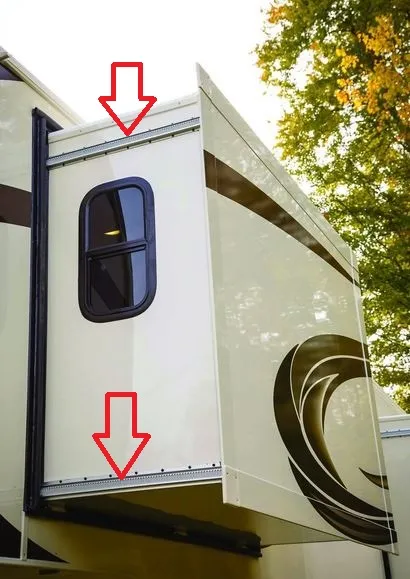
Because the system is lightweight, manufacturers commonly install it on:
- Bedroom slide-outs
- Wardrobe slides
- Entertainment centers
- Smaller kitchen slides
- Lightweight travel trailers
- Many fifth wheels and motorhomes
When everything is operating correctly, the Schwintek system is quiet, efficient, and requires very little effort from the owner.
However, because both motors must stay synchronized throughout the entire movement, even a small problem can cause noticeable issues.
Why Do Schwintek Slide-Out Problems Happen?
One of the biggest misconceptions is that Schwintek systems simply “wear out.”
In reality, most failures begin with something much smaller.
During diagnostics, experienced technicians often find issues that started long before the slide stopped moving altogether. A weak battery, improper operation, excessive friction, or slight misalignment may gradually place additional strain on the motors until the controller detects a problem.
Some of the most common contributors include:
- Low battery voltage
- Operating the slide with weak batteries
- Releasing the switch before the slide finishes synchronizing
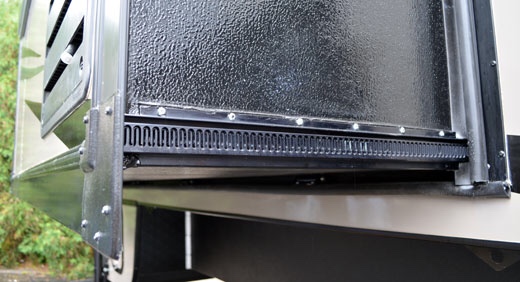
- Dirty or damaged rails
- Excessive seal resistance
- RV frame flex on uneven campsites
- Heavy slide rooms carrying residential appliances
In other words, the slide system is often reacting to another problem rather than causing it.
That’s why a proper diagnosis always comes before replacing parts.
The 7 Most Common Schwintek Slide-Out Problems
1. The Slide Gets Out of Synchronization
This is, without question, the most common Schwintek issue technicians encounter.
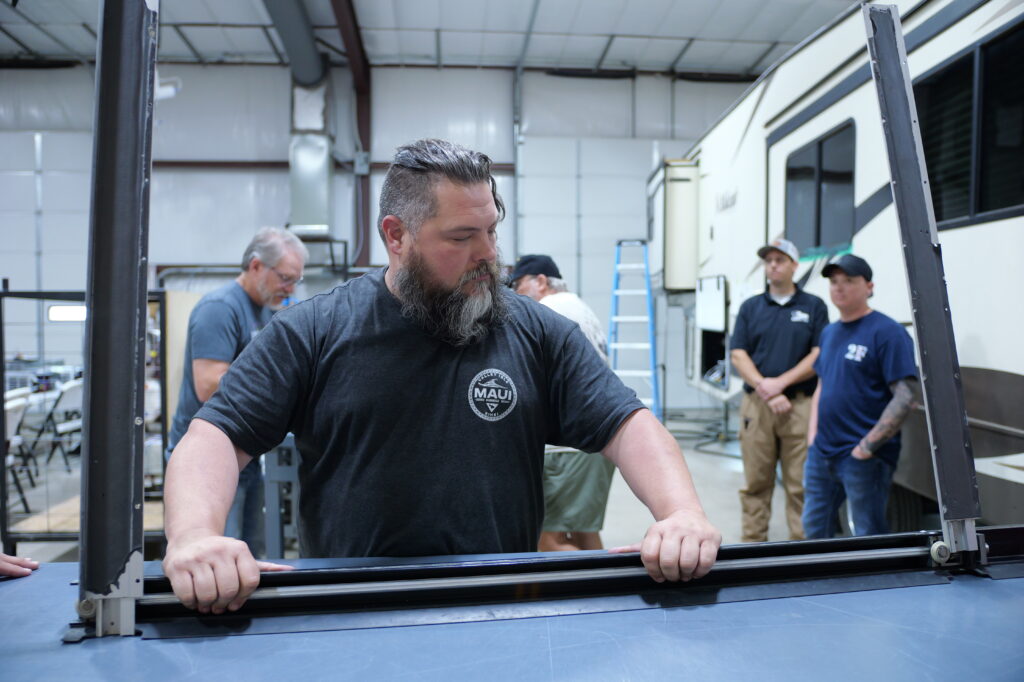
Because each side of the room has its own motor, both motors must travel at exactly the same speed. If one side gets slightly ahead of the other, the room begins twisting during movement.
You may notice:
- One side reaches the wall first.
- The room looks crooked.
- One corner sticks out farther than the other.
- The slide hesitates before fully extending.
Fortunately, this doesn’t always indicate a mechanical failure.
In many cases, the controller simply needs to re-establish synchronization.
One habit that helps prevent this issue is continuing to hold the slide switch for three to five seconds after the room reaches its full travel. Doing so allows the controller to verify both motors have completed the movement together.
2. The Slide Stops Halfway
Few things are more frustrating than watching a slide stop in the middle of its travel.
Many owners immediately assume a motor has failed.
In reality, one of the first things an RV technician checks is battery voltage.
Electric slide systems draw significant current while operating. If voltage drops too low, the controller may stop the slide to protect the motors.
Other possible causes include:
- High electrical resistance
- Loose wiring connections
- Excessive friction
- Mechanical binding
- Obstructions in the slide path
Before ordering replacement parts, verify that your batteries are fully charged and all electrical connections are secure.
That simple step solves more slide issues than many owners realize.
3. One Side Moves While the Other Doesn’t
If one side of the room continues moving while the other remains stationary, stop operating the slide immediately.
Continuing to force movement can cause the room to rack, placing additional stress on the rails and gears.
Possible causes include:
- Failed motor
- Loose motor retaining screw
- Damaged wiring
- Faulty controller output
Diagnosing which component has failed requires testing both the electrical and mechanical portions of the system rather than simply replacing whichever part seems most likely.
4. Clicking or Ratcheting Noises
Clicking sounds are rarely something to ignore.
While a brief click during operation may not indicate a problem, repeated clicking or ratcheting usually means the drive mechanism is slipping.
Possible causes include:
- Worn gear racks
- Damaged drive blocks
- Slide misalignment
- Excessive resistance
Think of it as the slide telling you something is working harder than it should.
Ignoring the warning often results in more expensive repairs later.
5. Grinding or Popping Sounds
Grinding noises usually indicate mechanical wear or excessive resistance.
Technicians commonly inspect for:
- Bent rails
- Damaged gear tracks
- Worn rollers
- Seal interference
- Poor room alignment
A slide should move smoothly throughout its travel.
Any grinding, popping, or binding deserves further inspection before continued use.
6. The Slide Creeps Out While Driving
Some owners discover their slide has moved outward after arriving at their destination.
This condition, often called “slide creep,” usually points to wear inside the motor or gearbox.
Possible causes include:
- Failed motor brake
- Worn gearbox
- Internal drive wear
Although the movement may only be slight at first, it should be addressed before traveling again.
7. The Slide Won’t Move at All
Sometimes the controller doesn’t respond, the motors remain silent, and nothing happens.
While this can indicate a failed component, don’t assume the worst.
Start with the basics:
- Is the battery fully charged?
- Is the battery disconnect switch on?
- Have you checked the fuse?
- Are all electrical connections secure?
- Is the controller displaying an error code?
Experienced RV technicians know that successful troubleshooting starts with the simplest possibilities before moving to more complex diagnostics.
Don’t Guess—Diagnose
One of the biggest mistakes RV owners make is replacing parts before identifying the actual problem.
It’s understandable. A slide won’t move, someone online says it’s probably the motor, and a replacement gets ordered.
Unfortunately, many of those original motors weren’t bad at all.
In RV service, diagnosis always comes before repair. A systematic approach not only saves money, but it also prevents replacing good components while the underlying problem continues to damage the system.
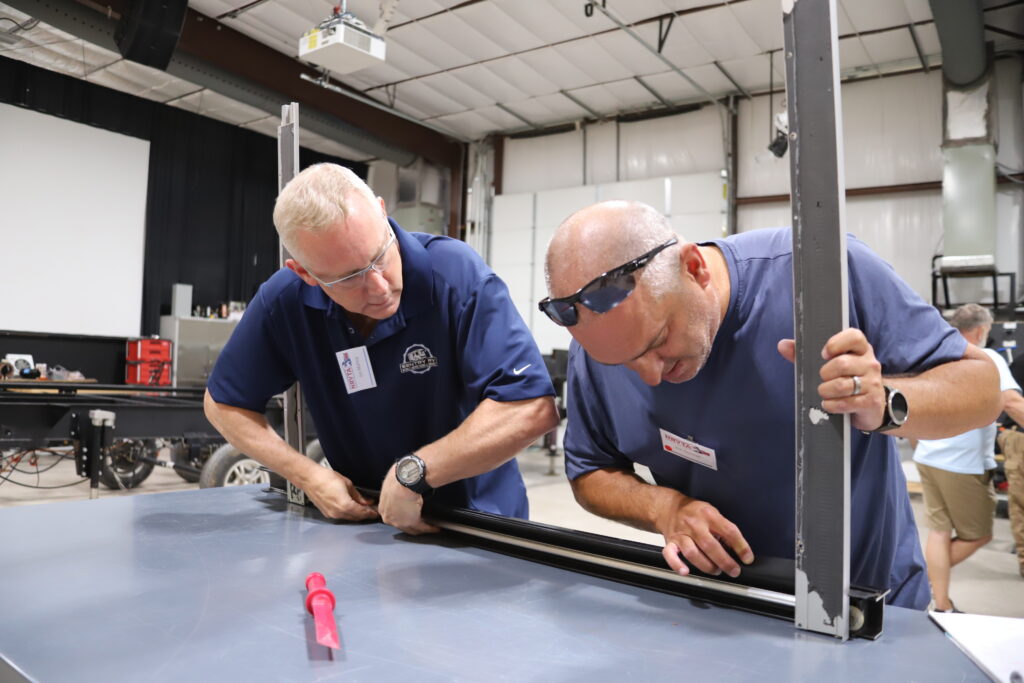
That’s one reason professional RV technicians spend so much time learning electrical diagnostics, mechanical systems, and proper troubleshooting techniques rather than simply memorizing repair procedures.
How to Troubleshoot Schwintek Slide-Out Problems
When a Schwintek slide stops working, it’s tempting to assume the motor has failed. In reality, experienced RV technicians follow a process instead of making assumptions. Taking a few minutes to inspect the system can often identify the real problem before expensive parts are replaced.
Work through these steps in order.
1. Check Battery Voltage
Low voltage is one of the leading causes of Schwintek slide-out problems. The controller requires adequate power to keep both motors synchronized throughout the slide’s travel.
If your batteries are weak or partially discharged, charge them before attempting additional troubleshooting.
2. Listen to the Motors
Operate the slide while listening carefully.
Ask yourself:
- Do both motors run?
- Does only one side move?
- Is there clicking or grinding?
- Is the controller completely silent?
Those sounds provide valuable clues before you ever remove a component.
3. Inspect the Rails
Walk around the outside of the slide and examine both rails.
Look for:
- Broken teeth
- Bent aluminum tracks
- Dirt or debris
- Loose hardware
- Damaged seals
A visual inspection often reveals problems that electrical testing cannot.
4. Verify the Motors Are Secure
One issue technicians occasionally find is a loose motor retaining screw.
When the motor lifts slightly out of position, it may no longer engage the drive mechanism correctly. The result can look like a failed motor even though the motor itself still works.
5. Check the Controller
Many Lippert controllers display fault codes through flashing LEDs.
Those codes can point toward:
- Synchronization issues
- Motor faults
- Controller faults
- Electrical problems
Recording the flash pattern before disconnecting power can save valuable diagnostic time.
6. Re-Synchronize the Slide
If both motors still operate but the room is slightly crooked, the controller may simply need to re-establish synchronization.
Always follow the manufacturer’s recommended synchronization procedure for your specific controller model.
7. Replace Parts Only After Testing
This is where experience makes the biggest difference.
Replacing a motor without confirming it’s actually defective often leads to frustration—and another repair bill.
A proper diagnosis identifies the cause before replacing any component.
Preventing Future Schwintek Slide-Out Problems
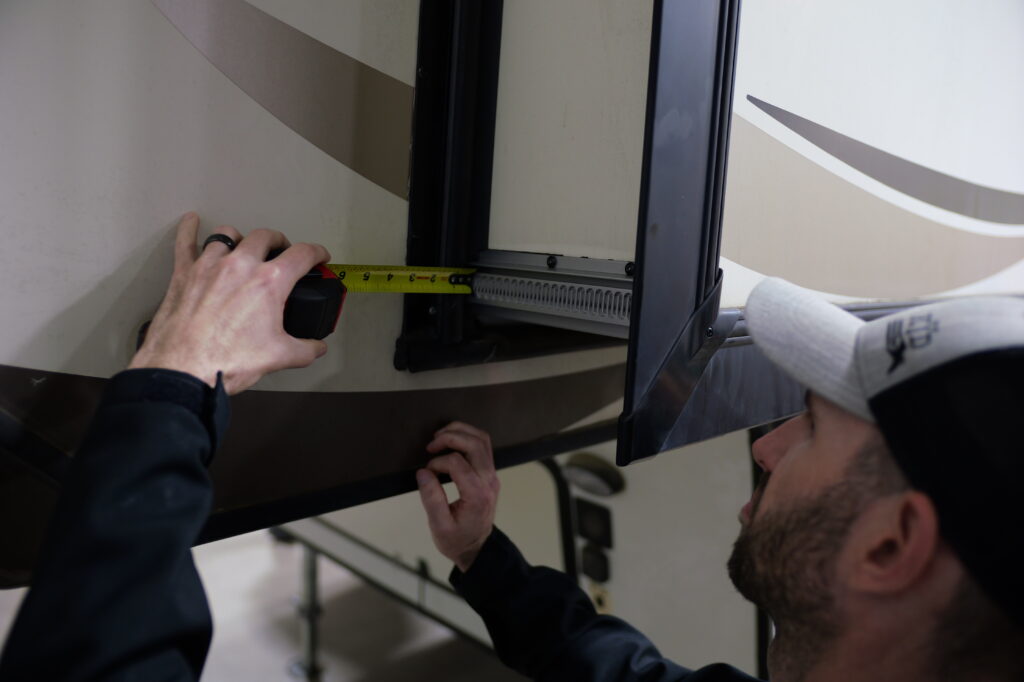
Like most RV systems, slide-outs last longer when they’re operated correctly.
Fortunately, good habits require very little extra effort.
Keep Your Batteries Charged
Healthy batteries provide stable voltage for the controller and motors.
Before operating any electric slide, verify your batteries are fully charged.
Operate the Slide in One Continuous Motion
Avoid stopping midway unless absolutely necessary.
Interrupting movement repeatedly increases the chance of the motors falling out of synchronization.
Hold the Switch After Full Travel
One of the simplest habits also happens to be one of the most important.
Continue holding the slide switch for three to five seconds after the room reaches its fully extended or retracted position.
Doing so allows the controller to confirm both motors have completed the movement together.
Keep Rails Clean
The rails don’t require heavy lubrication, but they should remain clean.
Road debris, dirt, and corrosion increase resistance, forcing the motors to work harder than necessary.
Inspect Seals Regularly
Slide seals that begin folding incorrectly or create excessive drag can place unnecessary stress on the entire system.
A quick inspection before each trip can prevent larger repairs later.
Schwintek vs. Hydraulic Slide Systems
RV owners often ask whether Schwintek systems are better than hydraulic slides.
The answer depends entirely on the application.
| Schwintek Slide System | Hydraulic Slide System |
| Electric motors | Hydraulic pump |
| Lightweight design | Heavy-duty design |
| Best for smaller slide rooms | Best for large kitchen and full-wall slides |
| Quieter operation | More lifting power |
| Easier electrical troubleshooting | More hydraulic components |
Neither system is inherently “better.”
Each was designed for different types of slide rooms.
When properly installed and maintained, both systems can provide years of reliable service.
When Is It Time to Call a Professional?
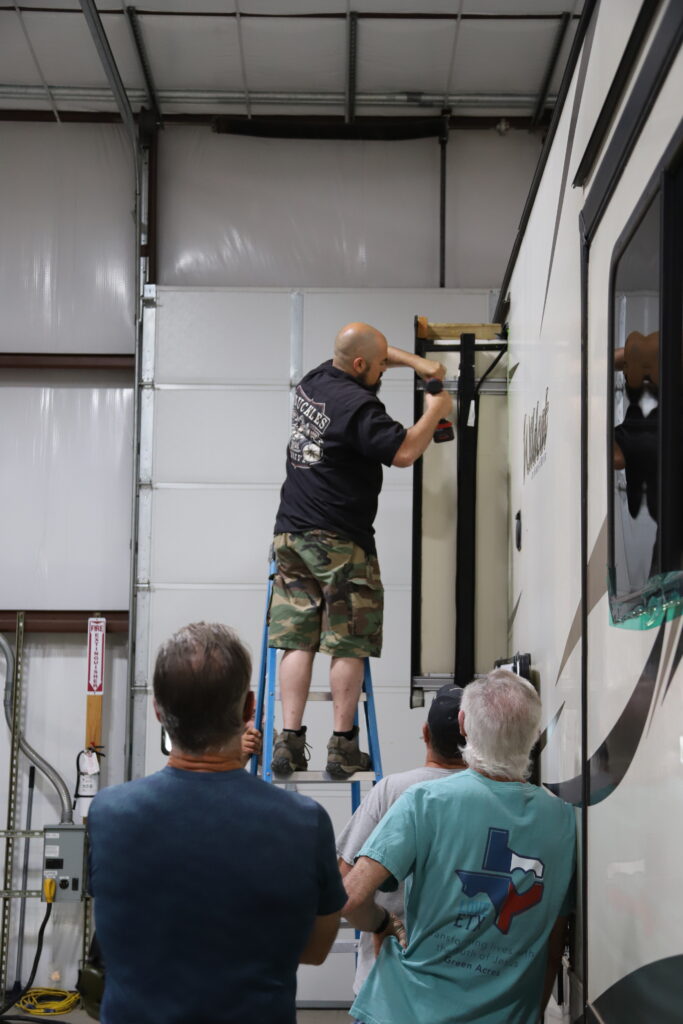
Some Schwintek slide-out problems can be solved with basic troubleshooting.
Others require specialized tools and experience.
Professional service is recommended if you notice:
- Bent rails
- Damaged gear tracks
- Repeated synchronization failures
- Electrical faults that persist after testing
- Water intrusion affecting electrical components
- Structural damage around the slide opening
A qualified technician can determine whether the issue is electrical, mechanical, or structural before unnecessary parts are replaced.
Learn the Skills Behind the Diagnosis
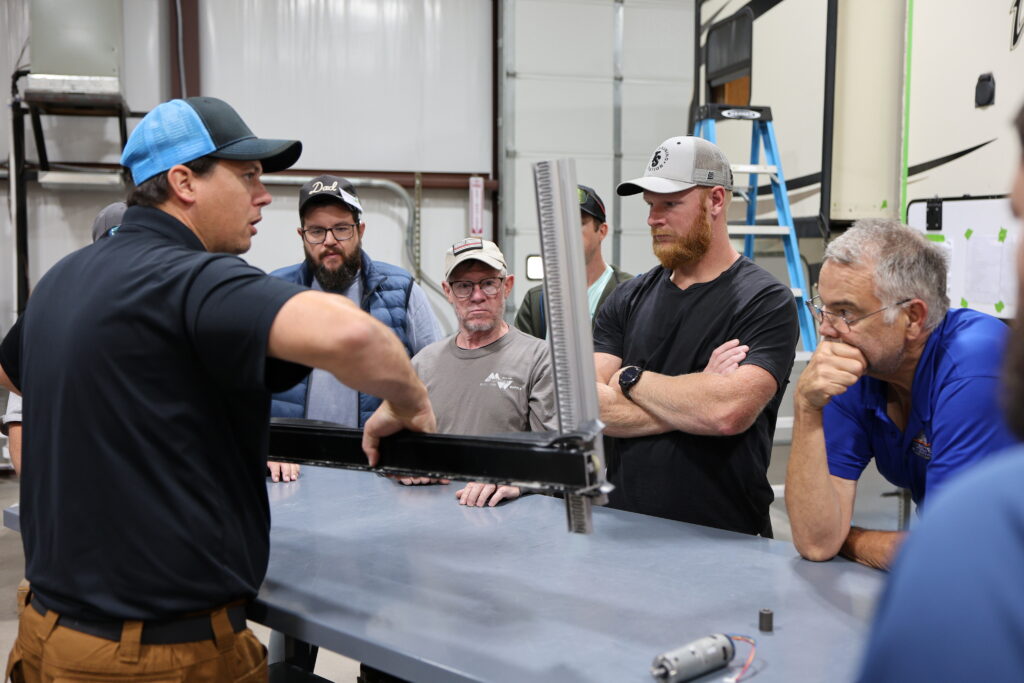
One of the biggest differences between an experienced RV technician and someone replacing parts by trial and error is the ability to diagnose systems methodically.
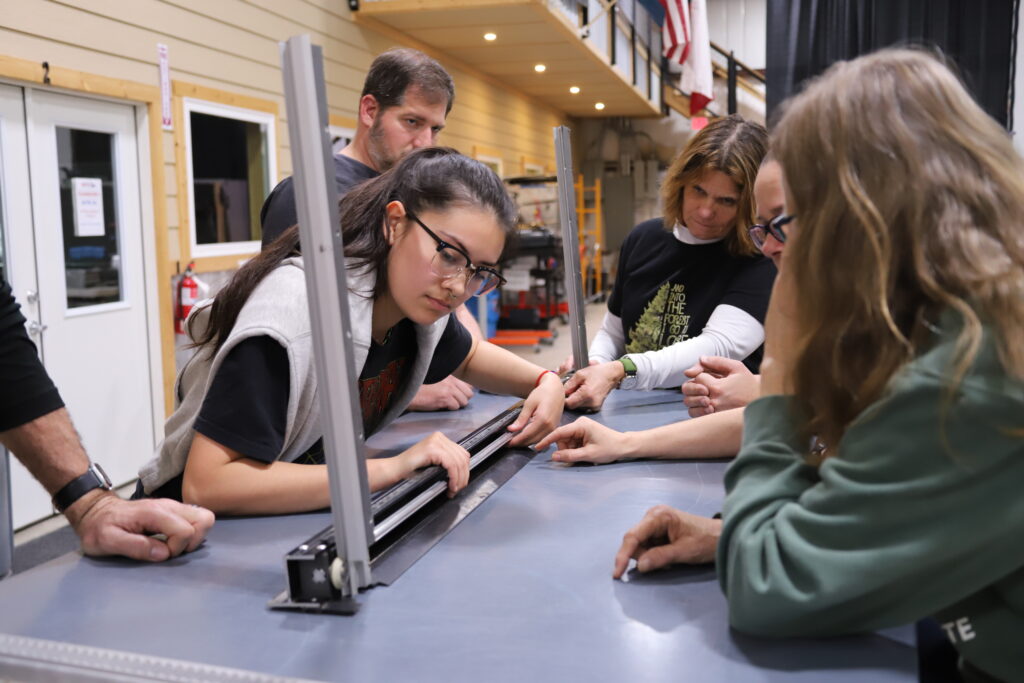
At the National RV Training Academy (NRVTA), students learn far more than how to replace components. They develop the troubleshooting skills needed to identify the root cause of problems involving slide-outs, electrical systems, appliances, plumbing, generators, and more.
Whether your goal is to maintain your own RV or prepare for a career in the RV industry, the RV Service Technician program provides hands-on instruction using real RV systems.
Those looking to broaden their skills can also explore additional NRVTA Training Programs or pursue the Master RV Service Technician program for more advanced training.
If you’re primarily interested in understanding and maintaining your own coach, the Educated RV Owner course offers practical instruction designed specifically for RV owners.
Training is educational in nature. Admission, graduation, employment, certification, and career outcomes depend on each student’s circumstances and should not be assumed.
Frequently Asked Questions
Why does my Schwintek slide stop halfway?
The most common causes are low battery voltage, excessive resistance, or the controller detecting abnormal motor current.
Why is my Schwintek slide crooked?
The motors have likely fallen out of synchronization or the room is experiencing mechanical resistance on one side.
Can I manually move a Schwintek slide?
Many systems include an emergency override procedure, but the exact process varies by controller model. Always consult the manufacturer’s documentation before attempting manual operation.
Should I lubricate Schwintek rails?
Lippert generally recommends keeping the rails clean rather than applying heavy lubricants that can attract dirt and debris. Always follow the maintenance guidance for your specific system.
Why does my Schwintek slide click?
Clicking usually indicates slipping gears, excessive resistance, worn drive components, or misalignment. Continued operation can increase damage if the underlying cause is not corrected.
How long do Schwintek motors last?
Motor life varies depending on use, maintenance, slide weight, and operating conditions. Many systems provide years of reliable service when properly maintained and operated.
Final Thoughts
Schwintek slide systems have developed a reputation for being troublesome, but many issues are preventable. More often than not, the problem isn’t a failed motor—it’s low voltage, poor synchronization, misalignment, or deferred maintenance.
Taking a systematic approach to troubleshooting can save time, reduce repair costs, and help you avoid replacing parts that are still working properly.
Whether you’re an RV owner preparing for your next trip or someone considering a future in RV service, understanding how these systems work is the first step toward diagnosing them with confidence.


Get Registered Today!
Talk to a student advisor to learn more!